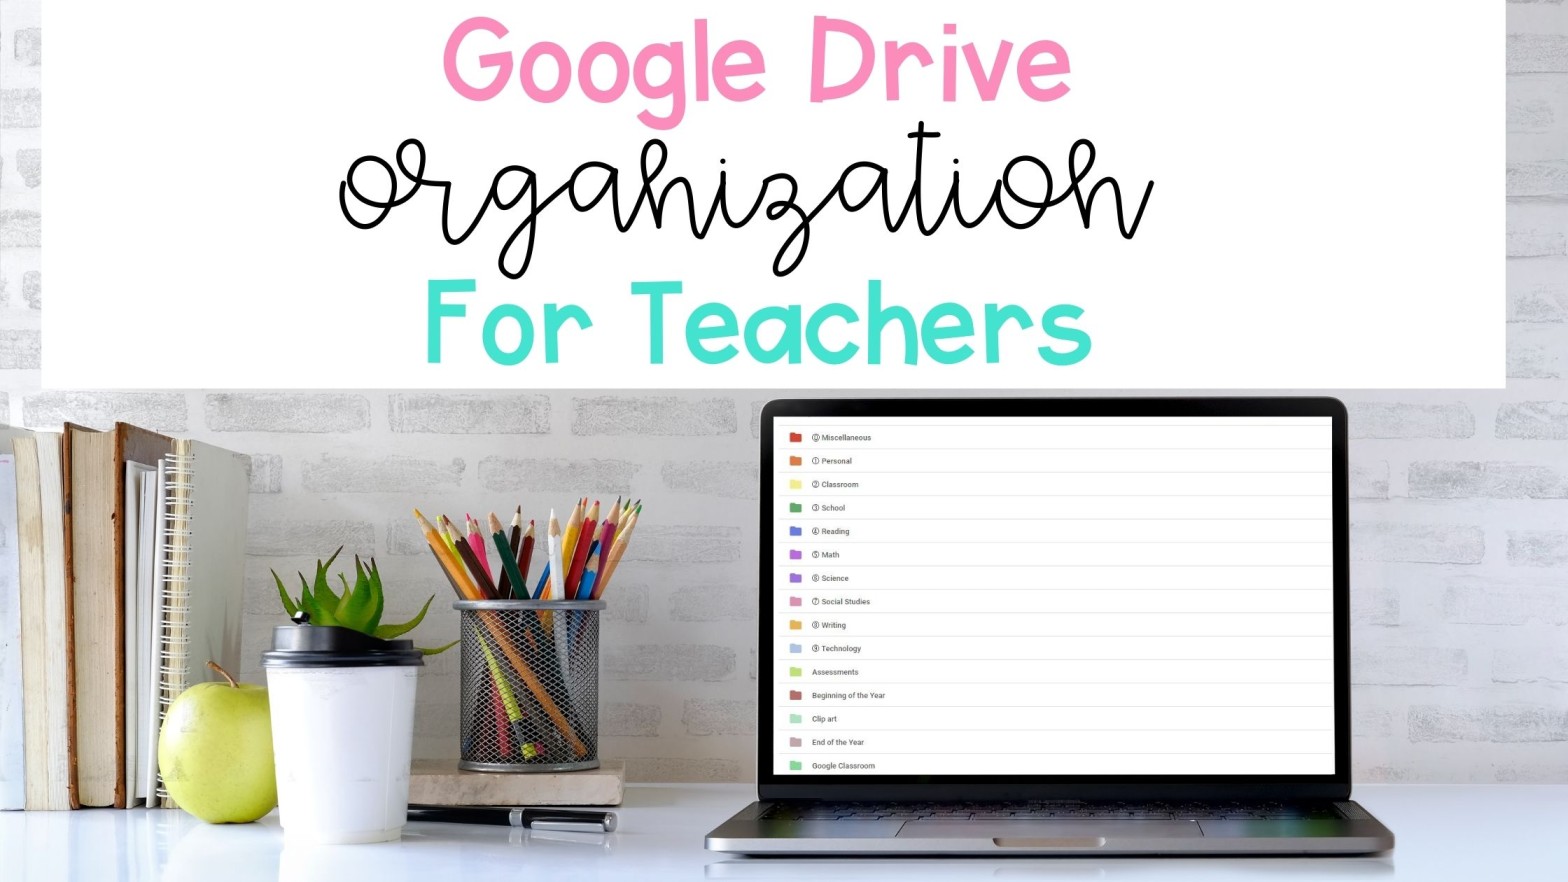
Do you use Google Drive in your elementary classroom? With most schools using Google Classroom, teachers store more and more school and personal documents on their Google Drive. Google Drive is a great cloud storage option for many teachers. Say goodbye to storing your files on your school computer or flash drive. With Google Drive, you can have access to all of your important files on any computer or device. You never have to worry about leaving your flash drive at school again. Google Drive is a great way to store all of your files, but if not done correctly, your Google Drive can become disorganized very easily. Here’s where this blog post comes in. Whether you are new to Google Drive or just need a system to clean up your drive, I’m here to help you with 4 Google Drive Organization Tips for Teachers.
Google Drive Organization Tip Number 1: Folder Categories
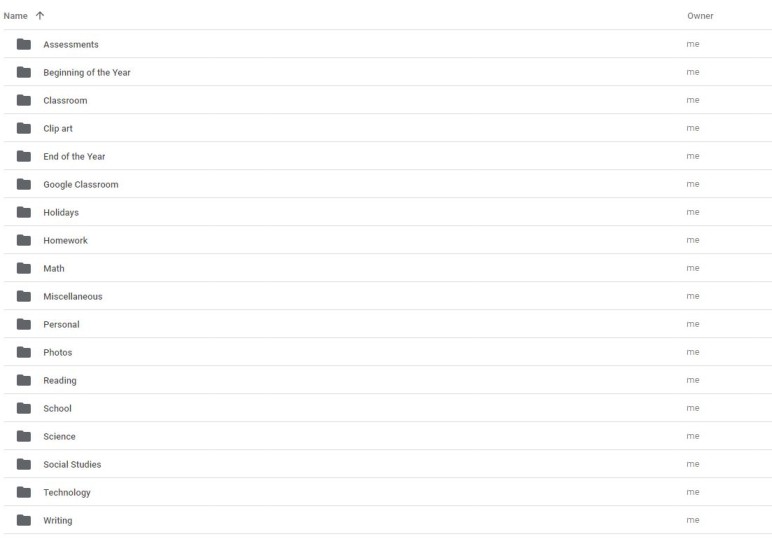
The first tip to organizing your Google drive is to make sure that every file in your Google Drive has a home. Random files with no home can clutter up your drive pretty quickly. Forget about finding files quickly if there are a lot of random files. Take a look at the files you currently have on your drive or files that you plan to move to your Google Drive. Make a list of different categories that these files can belong to. A few folder categories I use are School, Personal, Classroom, Reading, Math, Science, Writing, and Social Studies. If you’re looking for more category ideas, I have a Teacher Google Organization Guide that will walk you through step by step and includes a list of great folder categories.
Subfolders
After you’ve created your folder categories, it’s time to come up with a list of subfolder categories. Subfolders are simply folders that are housed in your main folders. For example, instead of having a bunch of reading files in your Reading folder, you can organize your reading files even more. A few subfolder categories could be Literacy Centers, Phonics, Story Elements, Alphabet, and more. Think about how quickly you can find your files now.
What’s great is that you can even break down your subfolders even more. The Literacy Centers folder can have folders for each center that you have in your classroom. In my classroom, I have a listening center, alphabet center, sight word center, guided reading center, book center, and many more. Each of the centers I’ve listed can all be a folder title in your Literacy Center subfolder.
Google Drive Organization Tip Number 2: Color-Coded Folders
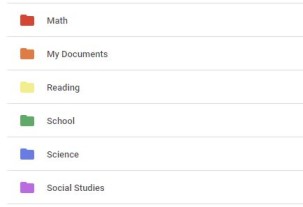
The second step is to color-code your folders. Did you know that I went years without knowing that the Google Drive folders can be color-coded? It was a game changer for me in my digital organization. When all of your folders and subfolders are created and the files are all assigned to a folder, it is time to color-code your folders. I always start with my main folders. I think of a color that represents that folder or I just pick a color theme. For example, I used pastel colors for my folders and a few of my friends decorate their folders using rainbow colors.
Once I assign a color to each of my main folders, I then assign that same color to all of my subfolders in that folder. For example, my math folder is light blue so each of my math subfolders are all light blue too. If one of my folders gets moved by mistake, I know where that folder belongs. By the way, you don’t have to assign the same color to each of your subfolders. You can pick a different color that works best for you and your classroom.
Google Drive Organization Tip Number 3: Numbers, Emojis, and Symbols
The third step is to add numbers, emojis, and symbols to your folder titles. Google Drive arranges your folders alphabetically. If that works for you, great! If you would like another option, keep reading. In my Google Drive I’ve arranged my main folders by adding a number in front of the title. This lists them in the order that I would like them to be in.
Numbering System
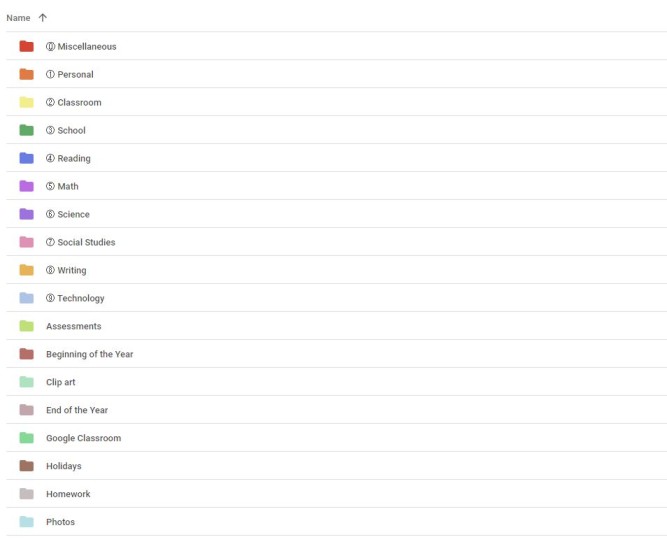
I order my folders by the order of importance. The folder I frequent the most is going to be number zero and the least used folder will be number 9. I can number my folders from zero to nine. After the number 9, Google will start alphabetizing the folders again. Now you can type the number in before the title or you can use a number symbol. I personally like using the number symbol. It stands out better. I found my number symbols at coolsymbol.com.
Emojis and Symbols
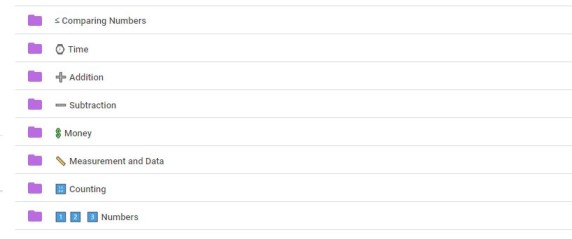
With my subfolders, I can do the same numbering system or I can use different symbols or emojis. I only organize my main folders with numbers and all of my subfolders are labeled with either a symbol or an emoji in front. For my math folder, I had the subfolders of Time, Money, Addition, Subtraction, Comparing Numbers, Counting, Numbers, and Measurement. I used a combination of symbols and emojis from coolsymbol.com or emojipedia.org/google/. I searched both websites looking for any type of symbol or emoji that would best explain my subfolder category. Once I found my match, I copied it from the website and pasted it before my folder title. I continued until I found a match for each one of my subfolders.
Google Drive Organization Tip Number 4: List or Grid View
Finally, after you’ve completed the 3 steps above, your Google Drive is looking pretty organized. Did you know that Google Drive has two options for viewing your folders? You can have your folders viewed in a List or Grid View but not a combination of both. In List view, your folders are organized from the top of the screen to the bottom. There’s only one folder per line. In Grid view, folders are organized from left to right. The number of folders in a single row depends on the length of your folder titles. I use List view for my folders because I have less than 15 folders. If I had a lot of folders I would use the grid view so I could see all of my folders without having to scroll down.
How to Organize Your Google Drive For Teachers
In conclusion, I hope you learned some great digital organization tips for organizing your Google Drive. Did you know that I created a Google Drive Organization Guide for elementary teachers? In this guide, I have listed step by step on how to do all of the steps above with cheat sheets and fill in the blank guides to help you along the way. The work is done for you so no need to google search how to color-code your folders or how to add emojis to your folder titles. Click here for your Google Transformation Guide.
In addition, if you are new to Google and need to create an account, this blog post will help you find out the benefits of Google Drive. Don’t forget to create an account by visiting Google.com.
After you’re finished, let’s celebrate your hard work! Show off your new organization by taking a picture of your newly organized Google Drive and tagging me on Instagram @thetravelingeducator.
