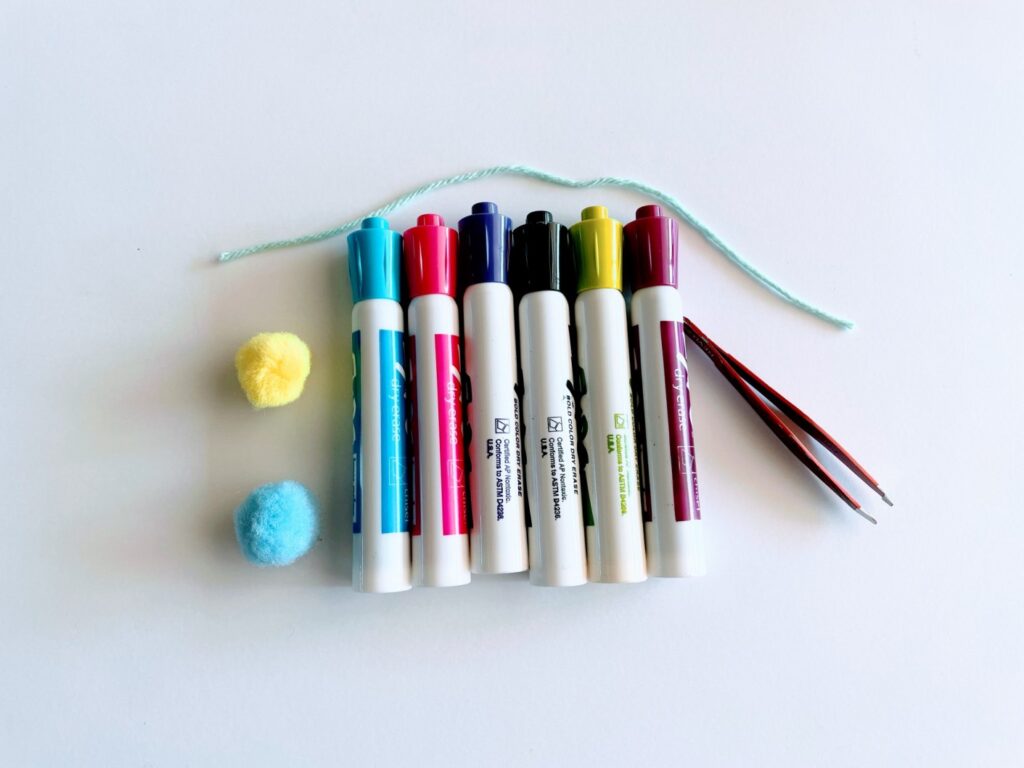
Do your students lose their dry erase markers or caps? What about when they push the marker tip in? Dry Erase markers are expensive, and I cringe every time I have to throw away a fairly new marker because of a student’s actions. Over the years, I have come across some awesome teacher hacks to help you save your markers. Here are my 5 teacher hacks for dry erase markers.
Teacher Hack for Dry Erase Markers Number 1: What Do I Do When My Dry Erase Marker Tip Gets Pushed In?
Students are not gentle with markers no matter how many times I go over the marker rules. My students use dry erase markers during centers and during class. The majority of the students push the marker tip in during center time when I can’t watch their every move. When the markers get pushed in, I use to throw them away but now I grab my tweezers. I keep a pair of tweezers in my desk. I use a pair of tweezers to pull out the marker tip so students can use the marker again. Next time, when you see a marker tip pushed in, don’t throw it away. Just grab a pair of tweezers instead.
Teacher Hack Number 2: What Happens When My Dry Erase Marker Tip Gets Dried Out?
The one thing that will end the life of a dry erase marker is a dried-out marker. Markers get dried out due to lots of use or the cap being left off for hours at a time. If you have a dried-out marker, grab your tweezers. Take the tweezer and flip the marker tip around. By flipping the marker tip around, you get to extend the life of the marker. Of course, once that side dries out for any reason, you have to trash it.
Teacher Hack for Dry Erase Marker Number 3: What can I do to keep my students from losing the caps of my markers?
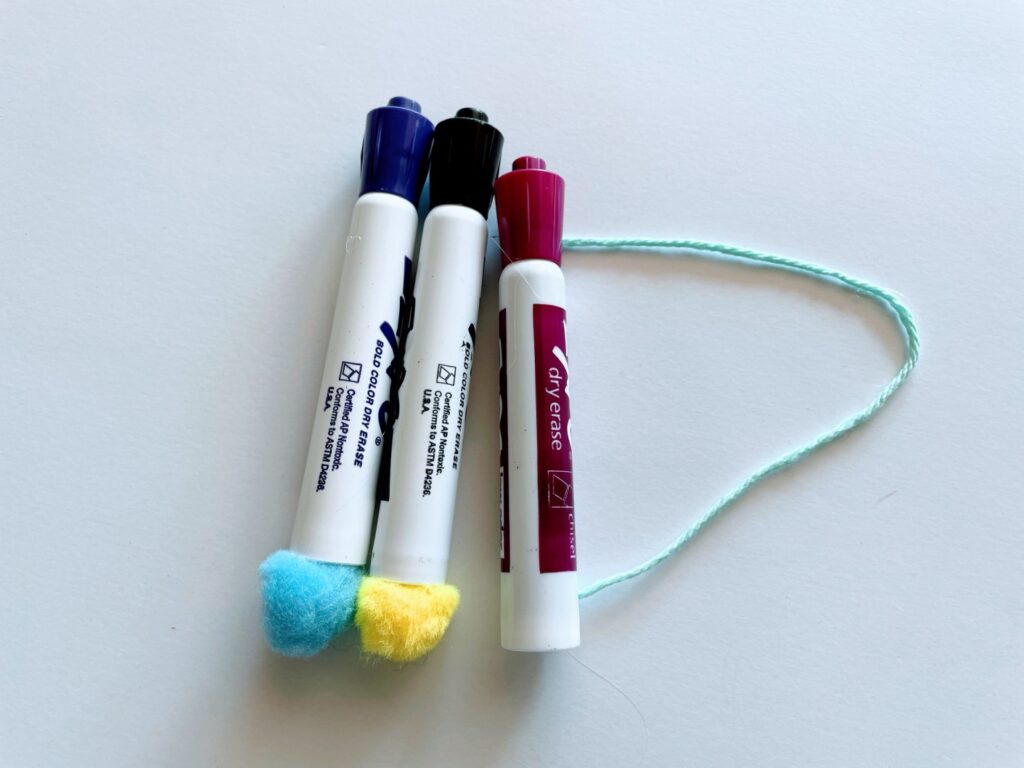
What do you do when a student loses a cap? It’s bound to happen in an elementary classroom. It’s an easy thing to do to fix a pushed-in marker tip or bring life back to a dried-out marker tip, but a marker with a missing cap can’t be saved. To prevent missing caps in your classroom, try taping a piece of string to the cap and the marker. Unless the students take time to remove the string, the cap is always going to be attached to the marker and never be lost.
Teacher Hack Number 4: What can I do to keep my markers from moving around the room?
When a student loses a marker, some will ask for a new one and some will take a marker from another spot. To save your markers from being moved, make it harder for the students to move the marker. Attach a magnet to a marker, so it always stays on the teacher’s dry erase board. For individual markers, use a string and attach it to the student’s desk. Students have a harder time losing the marker if it’s attached to their desk.

Teacher Hack Number 5: What can I use for an eraser?
Students are not usually a fan of using their hands to wipe away dry-erase marks. Tissues are not ideal either for they leave the tissue behind, so what’s a teacher to do? In my classroom, I’ve found that dry erase erasers, socks, and Pompoms are some of the best tools to be used for an eraser.
For centers, I usually have an eraser that all the students can use. For individual student work, it’s expensive for each student to have an eraser, so I use either an old sock or a Pompom. My go-to is a PomPom. What I love about a Pompom as an eraser, is that if the student has the marker, then they have the eraser. It’s one less thing for a student to lose. To make an eraser out of a Pompom, hot glue a Pompom to the end of the marker. For the most part, students don’t take them off very often but every once in a while I will have to replace it or glue it again.
I hope these 5 Teacher Hacks for Dry Erase Markers brought you some helpful tips to use in your classroom, and best of all save you money.
Looking for another teacher tip? Learn how to organize your Teacher Google Drive with these tips! Don’t have a Google Drive? Sign up here.
